4x4
Maple Leaves $15 US
The discount will be applied at
checkout
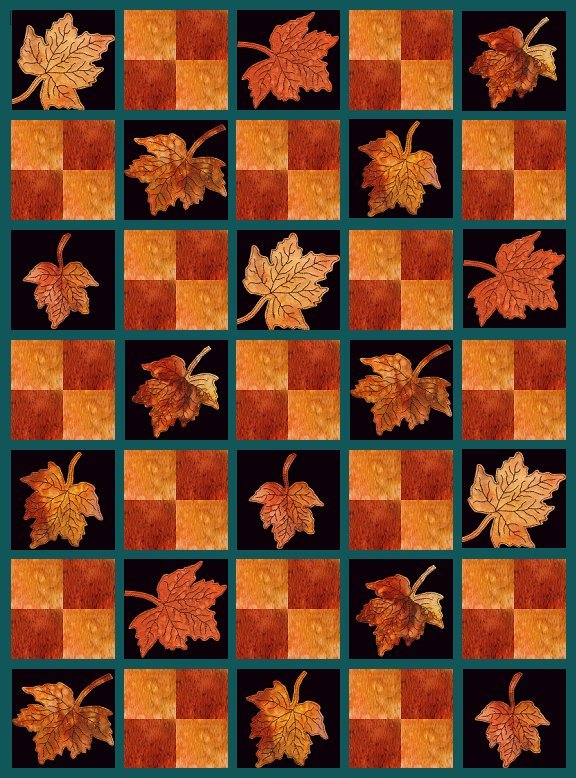
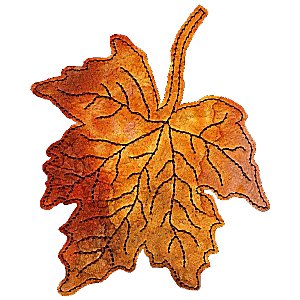
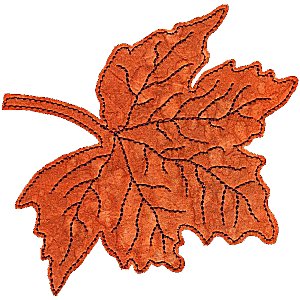
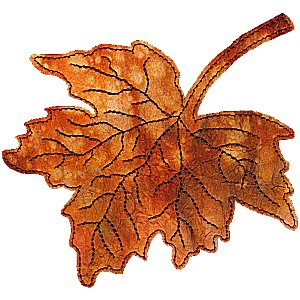
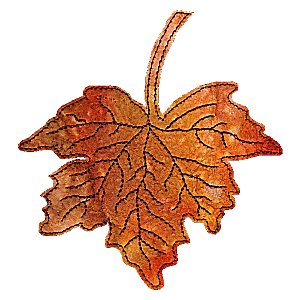
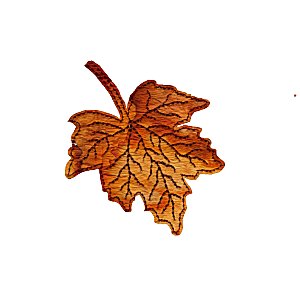
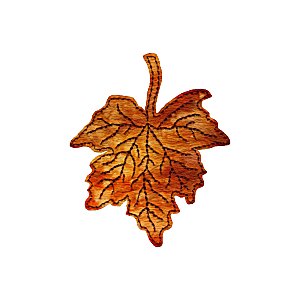
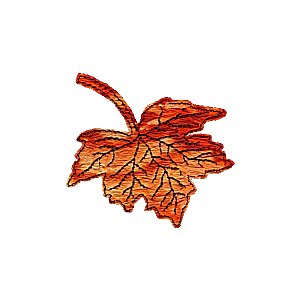
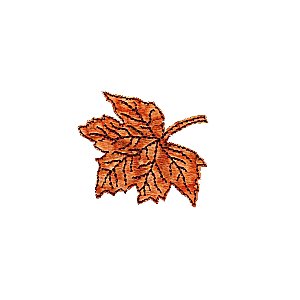
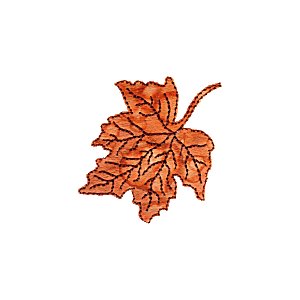
20 Maple leaves in different shapes
and sizes
|
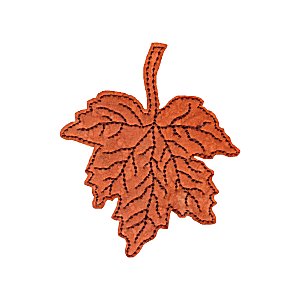
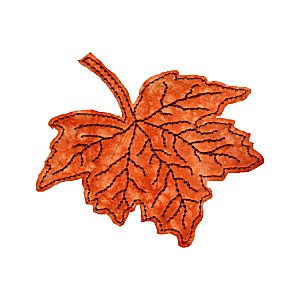
These outline designs are ideal for art projects and can
also be embroidered on almost any paper, paper fabric, teabag paper
and can also be used as raw appliqué on quilt blocks and on art quilts.
The leaves can also be stitched on synthetic fabric and the raw edges can
be burnt with a soldering iron. Embroider a number of leaves so you
will have a nice supply of leaves to play with when you start working
on your project. Step by step instructions are included for
some
projects. |
 |
 |
 |
|
3.88x3.88 inches 1,183
stitches |
2.856x3.79 inches 949
stitches |
2.76x3.33 inches 917
stitches |
 |
 |
 |
|
3.32x3.62 inches 1,070
stitches |
3.16x3.84 inches 1,086
stitches |
3.88x3.79 inches 1,173
stitches |
 |
 |
 |
|
3.88x3.51 inches 1,171
stitches |
3.50x3.64 inches 1,036
stitches |
2.36x2.81 inches 813
stitches |
 |
 |
 |
|
3.44x3.13 inches 1,073
stitches |
3.41x3.15 inches 1,088 stitches |
2.74x2.69 inches 839
stitches |
 |
 |
 |
|
2.95x2.53 inches 887 stitches |
2.11x2.51 inches 768
stitches |
2.07x2.25 inches 761
stitches |
 |
 |
 |
|
2.11x2.47 inches 752
stitches |
2.19x1.97 inches 768
stitches |
1.72x1.56 inches 643
stitches |
 |
|
 |
|
1.92x1.64 inches 667 stitches |
|
1.94x1.94 inches 707
stitches |
Buy
Online
Project Ideas with these
designs
These leaves can be used to
create pictures that can be framed when paper are used for the leaves.
With
fabric, one can make similar wall hangings. Just know these leaves will have
raw edges and you will
need your sewing machine to stitch them in position.
If you don't like the raw edges, stitch zigzag stitches
around the
edges or don't use them on projects which will need a lot of washing. They
are ideal to be used
on art quilts and wall hangings and you can also use
Heat n Bond or any other no-sew adhesive to
position the leaves and to
prevent fraying.
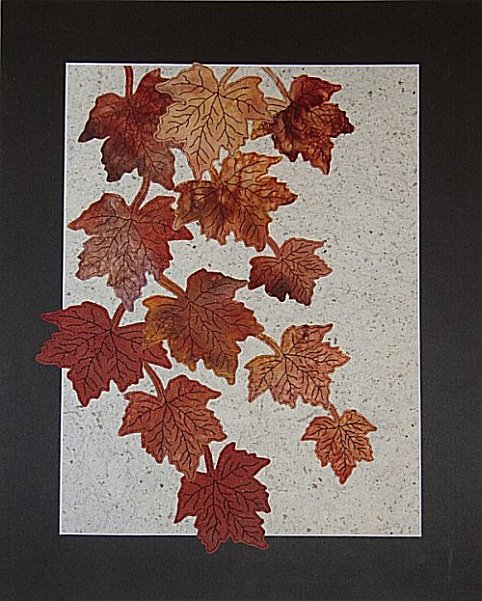
The picture above shows how and easy quilt can be made with the maple
leaves.
I only used6 or the largest leaves for the leaf
blocks.
 |
 |
These leaves were made with paper fabric. I make paper fabric by
sandwiching two layers of paper
towel with Glad Wrap inbetween. Then put it
on an ironing board and cover it with a piece of
parchment paper and
iron with a hot iron. This will fuse all three layers. Then I dampen
the
paper fabric with water in a spray bottle and bundle it up. Spray it with
some ink spray in fall
colors, like Dylusions Ink Sprays. Open paper fabric
and spray more colors on the white areas.
By bundling the paper fabric, the
folds give an almost batik look to the paper fabric. Drops
of watercolor
paints can also be used instead of the ink sprays. Let the paper fabric
dry
and iron it with a hot iron. Cover the paper fabric with parchment paper before
ironing.
The paper fabric is now ready to be used and can be used to
embroider these leaves.
Creating
skeleton leaves is great fun. The skeleton leaves at the bottom are maple
leaves.
Instructions and pictues how to make them are included with the
design files.
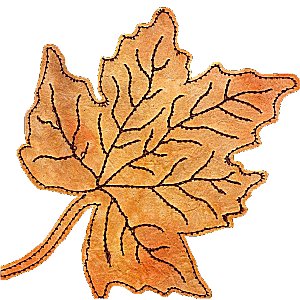
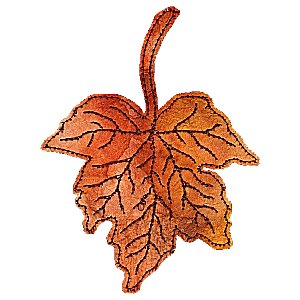
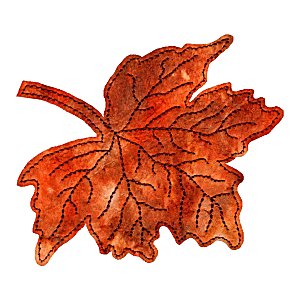
You don't need painting
skills to add color to these leaves with crayons or oil pastels.
I used oil
pastels on the leaves above. I suggest that you iron the leaves,
covered with
parchment paper or baking paper when you use wax crayons.
Oil pastels work
better to blend the colors in my honest opinion and to get brighter
colors.

This image will give you an
idea how to color the leaves with oil pastels. Use more pressure to
make
the colors more intense and you can also overlap the colors. Afterwards you can
blend
the colors with your fingers or rub the leaves with a piece of fabric
all over till the colors are nicely blended.
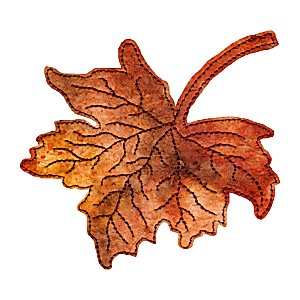
The image
above show how you can make greeting cards or altered book pages with these
leaves.
Back to New Designs Index
Page
Back to Older Designs Index
Page
Back to Home Page
Contact Elsa Goussard at elsagoussard@telkomsa.net